


How to recover deleted Facebook messages from Android devices without rooting:
Mar 30, 2018 09:24
One of the worst situations for a majority of Android users is when their messages are deleted. Either it is a very close friend’s chat or a very important conversation related to your studies or work, the feeling of finding out that you or your friend has accidentally deleted your Facebook conversations is absolutely dreadful.
There was a time when a message could not be taken back after it was sent, nor could it be recovered after it was deleted. Popular social media applications changed the former possibility, while dr.fone – Recover (Android) has made the latter option possible for Android users. Yes, in given circumstances, you can recover deleted Facebook messages from your Android device.
You don’t need to root your Android smartphone to carry out the process, and chances of recovering the complete data are very high too. Although, if a memory-write operation, an app update or a new app installation has overwritten the part of the storage where your Facebook messages were stored, you may not be able to recover the entire deleted data. However, it is very unlikely if you initiate the recovery process as soon as possible.
All you need for this quick little process is a computer, a data cable to connect your Android device to the computer, and dr.fone installed on your computer. You can easily download the demo version of dr.fone from here.
Step 1: Launch dr.fone and connect your Android device to the computer:
Once you have the dr.fone software installed on your computer, launch the application and select “Recover” from the array of options available on the main screen.

Connect the Android device to your computer using a data cable, and wait for dr.fone to sense the connection.
Step 2: Select the Messenger file type from the list:
Once dr.fone establishes a connection with your Android device, a new screen will appear where a list of file types will be displayed. Check “Messenger & Attachments” from the list.
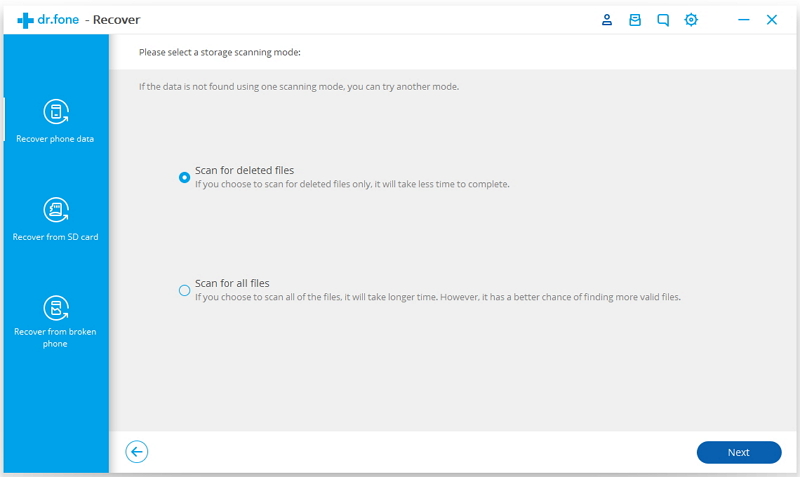
If your smartphone hasn’t been rooted, you will get another screen that will offer you two options: “Scan for deleted files” and “Scan for all files”. Choose “Scan for deleted files” and click on “Next”.
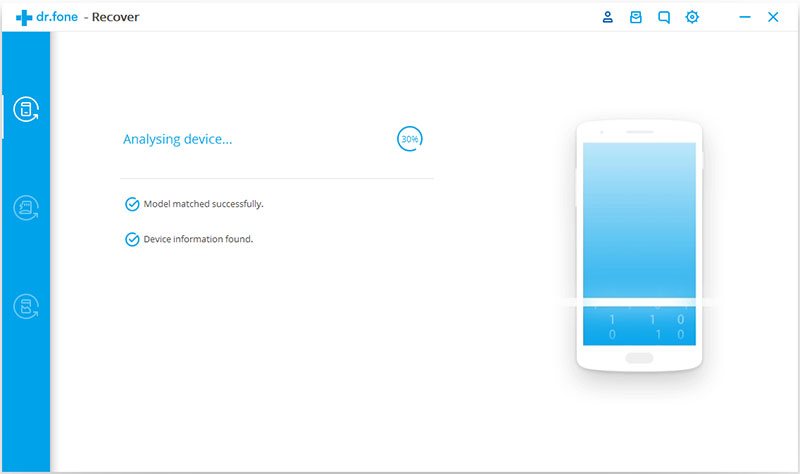
Step 3: Start the scan on your device:
Dr.fone will now analyze your device and its storage. Please do not disconnect your device from here on.
Dr.fone will start scanning your device automatically now. The process might take some time depending on your storage, be patient during this time. While the process is running, don’t disconnect your Android device and don’t open any Android storage management tool on your Android device or on your computer. This is to ensure that dr.fone faces no conflict with any other software during the scan.
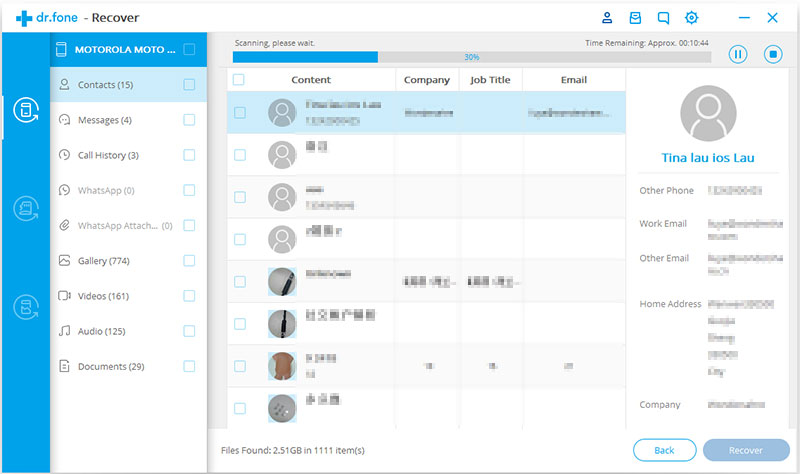
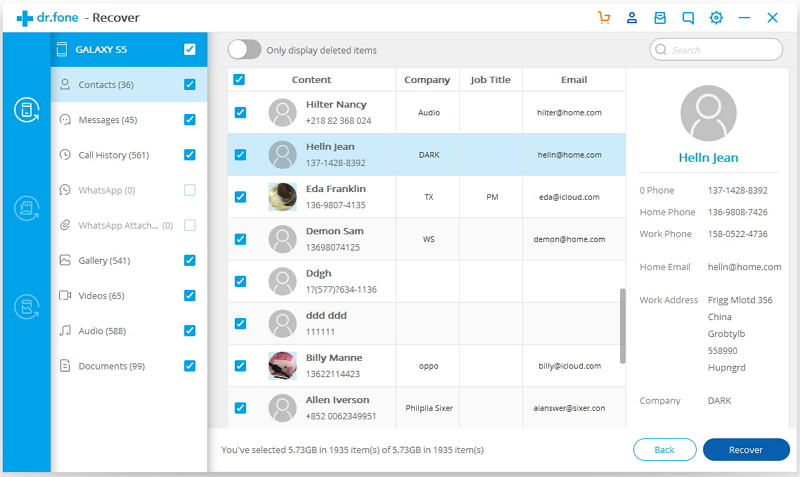
Step 3: Preview and recover the data you need:
Once the scan is complete, you will be able to see all the data that was recovered intact from your device. Preview the recovered data and select the data that you want to recover. Once you have selected the desired files, click on “Recover”. You’re all done.
Surprised at how easy this was? Dr.fone develops plenty of tools for smartphones and makes sure that anyone without the technical knowledge can perform effective operations on their smartphones. Visit dr.fone’s website for more information.